
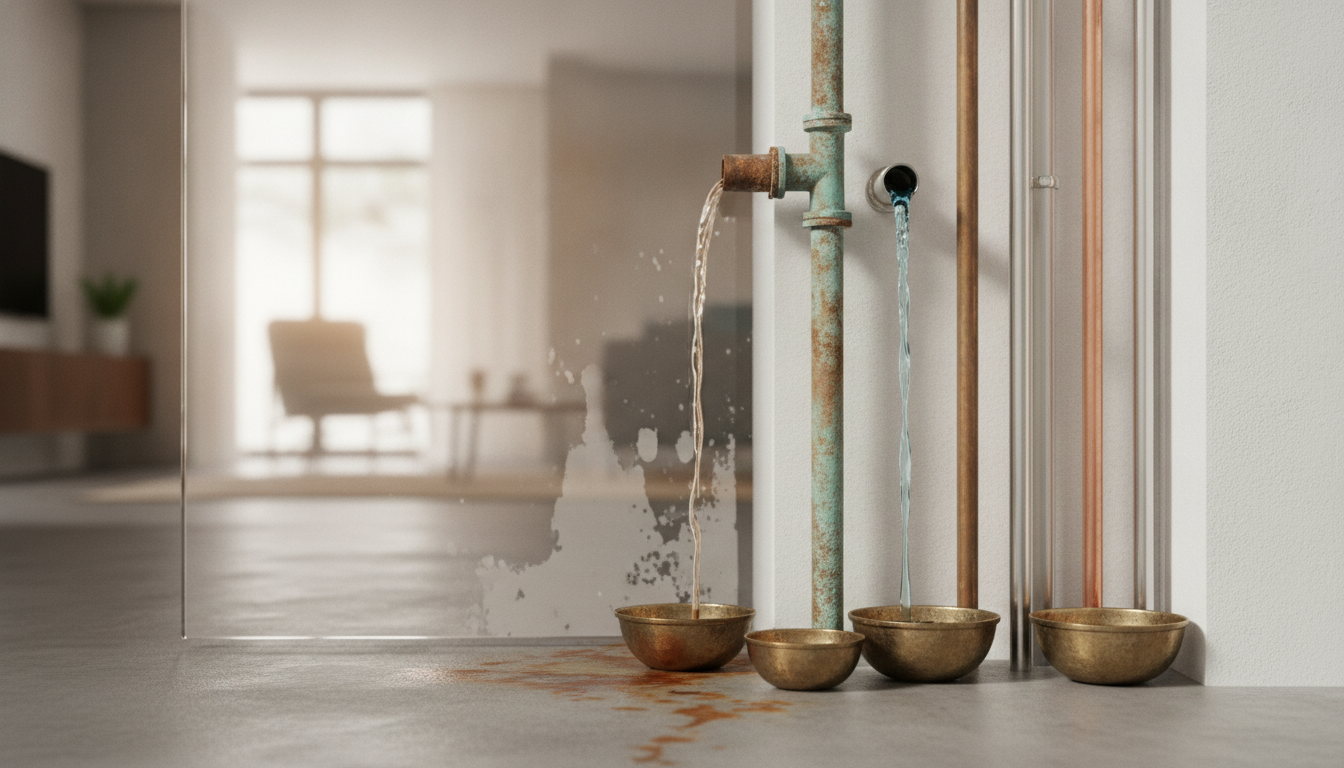
The Anatomy of a Water Heater Flush: DIY vs. Professional
Flushing a water heater might seem like a simple drainage task, but it involves handling high-pressure vessels and potentially scalding water. For those looking for professional assistance, SunShine Plumbing Pros provides comprehensive maintenance packages that include safety inspections of the T&P valve and anode rod.
The Standard Flushing Procedure
- Power Down: For electric heaters, turn off the breaker. For gas heaters, turn the thermostat to “Pilot” or “Off.”
- Cold Water Supply: Shut off the cold water inlet valve at the top of the tank.
- Connect the Hose: Attach a standard garden hose to the drain valve at the bottom of the tank.
- Open a Faucet: Open a hot water faucet somewhere in the house to prevent a vacuum from forming, allowing the tank to drain faster.
- Drain the Tank: Open the drain valve. Caution: The water will be extremely hot.
- The “Power Flush”: Once the tank is empty, briefly turn the cold water supply back on in short bursts. This helps agitate the sediment at the bottom so it can be pushed out through the hose.
- Refill and Restart: Close the drain valve, remove the hose, and turn the cold water back on. Crucial: Do not turn the power or gas back on until the tank is completely full and water is flowing steadily from the open hot water faucet.
The Risk of the “Old Tank” Flush
There is a specific scenario where flushing can be risky. If a water heater has not been maintained for 10 or 15 years, the sediment may actually be “sealing” small cracks or corroded spots in the tank. When you flush out that sediment, you might experience a leak shortly after. This is why a professional assessment is vital for older units; sometimes, a water heater replacement is a safer and more cost-effective path than a forced flush on a compromised tank.
Signs Your Water Heater is Crying for Help
You don’t always need to look at a calendar to know it’s time for maintenance. Your water heater will often provide audible or visual cues that it is struggling with sediment accumulation.
1. The “Popping” or “Rumbling” Sound
This is the most common symptom. When sediment builds up, steam bubbles get trapped beneath the layer of sludge. As the bubbles heat up and eventually burst through the sediment, they create a loud popping or knocking sound. This is often referred to as “kettling.” If your water heater sounds like it’s boiling rocks, it is overdue for a flush.
2. Fluctuating Water Temperatures
If your morning shower starts hot but quickly turns lukewarm, sediment may be displacing the volume of hot water available, or it may be interfering with the dip tube or the thermostat’s ability to read the water temperature accurately.
3. Cloudy or Discolored Water
Metallic-smelling or rusty-looking water is a sign that the anode rod has been depleted and the tank itself is starting to corrode. If the water appears “milky,” it is often a sign of high mineral content being stirred up within the tank.
4. Increased Energy Bills
According to the U.S. Department of Energy, even a small layer of sediment can reduce a water heater’s efficiency by 10% to 25%. If your gas or electric bills are creeping up without a change in usage, your water heater is likely working overtime to fight through scale buildup.
The Critical Role of the Anode Rod
While flushing removes loose sediment, it doesn’t solve the problem of tank electrolysis. Every tank water heater contains a sacrificial anode rod, usually made of magnesium or aluminum. This rod’s sole purpose is to corrode so that the steel tank doesn’t. During your annual flush, you should always have the anode rod inspected. If it is more than 50% depleted, it should be replaced. A healthy anode rod can double the lifespan of your water heater, whereas a spent rod leads to a rusted-out tank within two years.
Tankless Water Heaters: A Different Maintenance Beast
Many homeowners switch to tankless water heaters (On-Demand units) thinking they are maintenance-free. This is a myth. While they don’t store water, the heat exchanger in a tankless unit has very narrow passages that are highly susceptible to scale buildup.
Instead of a simple flush, tankless units require a descaling procedure. This involves circulating a food-grade vinegar solution or a commercial descaling agent through the unit for about an hour to dissolve the calcium. Most manufacturers recommend this be done annually, or every six months in hard water areas. Neglecting this can lead to a “Code 11” or “Code 12” error, signifying an ignition or flame failure due to overheating components.
Expert Perspectives: Why “DIY” Isn’t Always Best
While a homeowner can technically perform a flush, there are several nuances that SunShine Plumbing Pros experts highlight as potential pitfalls for the inexperienced:
- Valve Failure: Plastic drain valves found on cheaper units are notorious for breaking or failing to close properly after being opened for the first time in years.
- Air Pockets: If an electric heater is turned back on before the tank is 100% full, the upper heating element will burn out in seconds. This is known as “dry firing.”
- Thermal Expansion: Professionals check the expansion tank during a flush. If the expansion tank is failed, the pressure fluctuations from heating will eventually crack the main tank’s glass lining.
- T&P Valve Testing: The Temperature and Pressure relief valve is your only protection against a tank explosion. A pro knows how to test this without causing a permanent leak.
The Economic Impact of Regular Maintenance
Let’s look at the numbers. A standard 50-gallon water heater installation can cost anywhere from $1,500 to $3,000 depending on the model and local labor rates. A well-maintained unit can last 12 to 15 years. A neglected unit often fails around the 6- to 8-year mark.
By investing in a yearly flush and inspection, you are essentially paying a small “insurance premium” to protect a multi-thousand-dollar asset. Furthermore, the efficiency gains from removing sediment can save the average household $50 to $100 annually in energy costs, which often covers a significant portion of the maintenance fee itself.
Frequently Asked Questions
Can I flush my water heater if it hasn’t been done in 5 years?
Yes, but proceed with caution. If you have very hard water, the sediment might be thick. It is often better to have a professional do the first “catch-up” flush to ensure the drain valve doesn’t clog with large chunks of scale during the process.
How long does a water heater flush take?
A standard tank flush typically takes between 30 and 60 minutes. This includes the time to drain the tank, perform a power flush to agitate sediment, and refill the unit.
Will flushing my water heater improve water pressure?
Indirectly, yes. If sediment has migrated into your hot water lines or clogged the aerators in your faucets, flushing the tank prevents further blockages. However, if you have low pressure throughout the house, the issue may be with your pressure reducing valve (PRV) or the main supply line.
Is it normal for the water to be black or brown during a flush?
It is common to see discolored water initially. Brown or orange water usually indicates rust, while blackish water can be a sign of high mineral content or a degrading anode rod. If the water doesn’t clear up after several minutes of flushing, you may have significant internal corrosion.
The Environmental Benefit of Maintenance
Beyond the personal financial savings, maintaining your water heater is a “green” practice. Appliances that run efficiently consume fewer natural resources. Additionally, by extending the life of your heater, you are keeping a large metal appliance out of the landfill for twice as long. In an era where sustainability is paramount, the simple act of flushing your heater is a meaningful contribution to reducing your household’s carbon footprint.
Final Checklist for Homeowners
To ensure your water heating system remains in top-tier condition, follow this annual checklist:
- Check the Date: Locate the manufacturer’s sticker to determine the age of your unit.
- Test the T&P Valve: Lift the lever briefly to ensure water discharges and then shuts off completely.
- Inspect for Leaks: Look for “crusty” buildup around the inlet and outlet pipes.
- Monitor the Anode Rod: Have it checked every 2-3 years.
- Schedule the Flush: Set a recurring calendar reminder for your annual service with a trusted provider like SunShine Plumbing Pros.
Summary: Protect Your Investment Before Problems Start
In conclusion, the question isn’t just “how often should you flush your water heater,” but rather “how much do you value your home’s efficiency and safety?” While once a year is the standard, being proactive and observant of your water quality will help you tailor a maintenance plan that keeps the hot water flowing without interruption for a decade or more. Don’t wait for the “popping” sounds to start—clear out that sediment today and protect your investment.
Whether you are dealing with a traditional gas tank or a modern high-efficiency electric model, the physics remains the same: heat and minerals do not mix well over time. By taking the time to perform or schedule a thorough flush, you are ensuring that your showers remain hot, your bills remain low, and your home remains safe from the preventable disaster of a tank failure.