
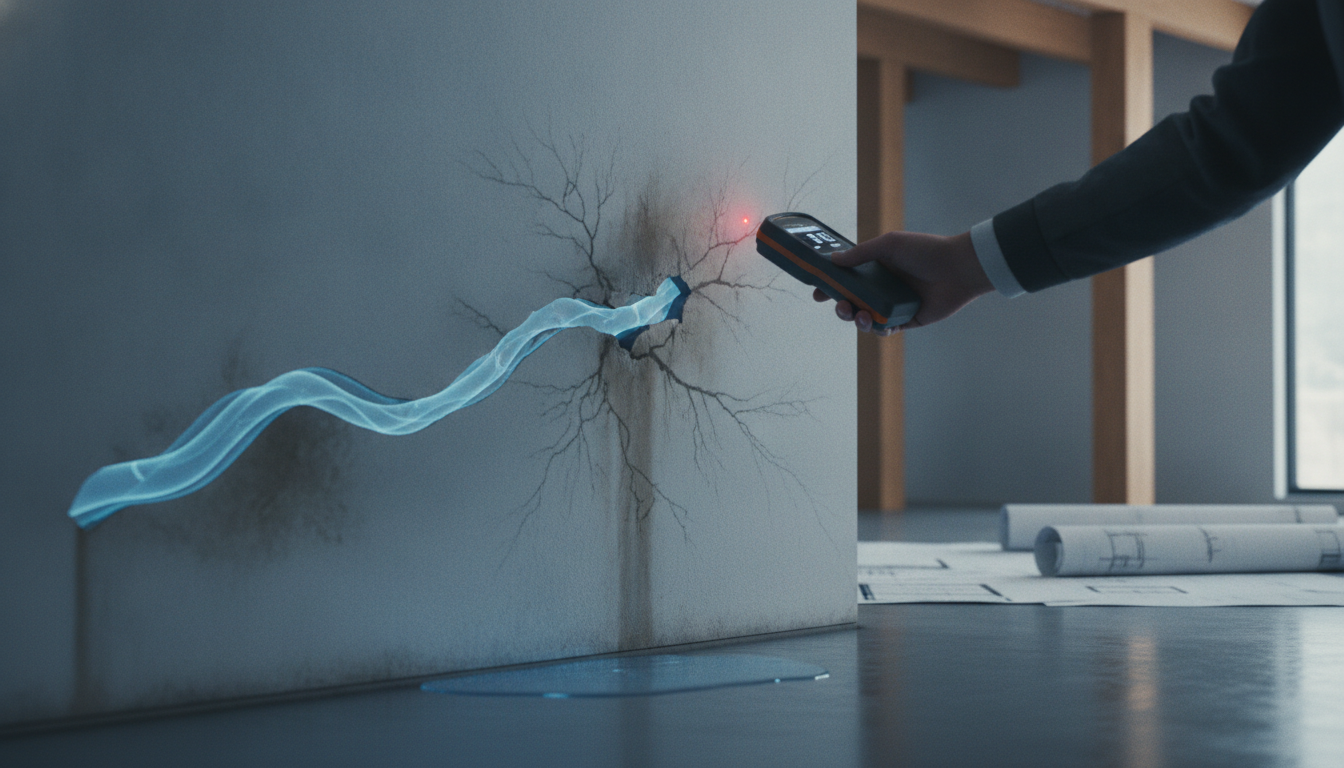
Detecting a hidden water leak requires a combination of vigilance, technical observation, and the use of specialized diagnostic tools. To determine if you have a leak, monitor your water meter for activity while all fixtures are turned off, track unexplained increases in your utility bills, and inspect for physical symptoms such as damp spots, mold growth, or the sound of running water behind walls. Early detection is critical to preventing structural damage, wood rot, and expensive foundation repairs caused by persistent moisture intrusion.
The Invisible Threat: Why Hidden Leaks Are a Homeowners Nightmare
Imagine waking up to a home that feels slightly more humid than usual, or perhaps you notice a faint, musty odor that persists despite cleaning. These are often the first whispers of a subterranean plumbing failure or a pinhole leak deep within your walls. As a Senior SEO Director in the home services niche, I have analyzed thousands of cases where minor drips escalated into catastrophic property losses. The reality is that most residential plumbing systems are pressurized environments; even a tiny breach can release hundreds of gallons of water over a week, silently eroding the integrity of your home.
Hidden leaks are particularly insidious because they bypass the immediate visual confirmation we get from a dripping faucet or a clogged toilet. They occur in the “blind spots” of your infrastructure—under concrete slabs, inside insulated wall cavities, and beneath landscaped yards. Understanding the mechanics of leak detection is not just about saving money on your water bill; it is about preserving the topical authority of your home’s structural health. In this guide, we will explore the multifaceted approach to identifying these silent liquid intruders before they compromise your safety and finances.
1. The Definitive Water Meter Test: Your First Line of Defense
The most reliable way to confirm the existence of a leak without tearing into drywall is the water meter test. Your water meter is a precision instrument that records every drop of water entering your property. If it moves when no one is using water, you have a definitive answer.
How to Perform a Professional-Grade Meter Check
- Isolate the System: Ensure all water-consuming appliances are off. This includes washing machines, dishwashers, ice makers, and irrigation systems. Turn off every faucet tightly.
- Locate the Meter: Most meters are located in a concrete box near the street curb or in the basement. Remove the cover carefully (watch for spiders or debris).
- Observe the Leak Indicator: Many modern meters have a “low-flow indicator”—often a small red, silver, or blue triangle or wheel. If this dial is spinning, water is moving.
- The Time-Lapse Method: If there is no visible movement, record the exact reading on the meter. Leave the water off for exactly two hours. Re-check the reading. Any change in the numbers indicates a slow leak.
| Indicator Status | Possible Diagnosis | Urgency Level | |
|---|---|---|---|
| Rapidly Spinning Dial | Major Pipe Rupture or Stuck Flapper | Critical – Immediate Action | |
| Slow Creeping Dial | Pinhole Leak or Seeping Valve | High – Schedule Inspection | |
| Stationary Dial (2 Hours) | No Pressurized Leak Detected | Low – Monitor Monthly |
2. Analyzing Utility Bill Anomalies and Consumption Patterns
Data-driven homeowners often spot leaks in their spreadsheets before they see them in their basements. A sudden, unexplained spike in your monthly water consumption is a major red flag. According to the EPA, an average family of four uses approximately 12,000 gallons per month. If your usage jumps to 15,000 or 20,000 without an increase in occupants or seasonal watering, the math points toward a leak.
Expert Perspective: Look for “creeping” bills. Sometimes a leak starts as a microscopic fracture in a copper pipe due to electrolysis or high water pressure. Over six months, your bill might rise by $10 or $15 each month. This gradual increase is often ignored by homeowners who attribute it to rising utility rates, but it is actually the signature of a worsening plumbing failure.
3. Visual Clues: Decoding the Language of Your Walls and Floors
Your home will eventually “speak” if a leak persists long enough. You just need to know how to translate the visual symptoms. Secondary damage from water is often more visible than the leak itself.
- Wall Discoloration: Look for yellow, brown, or gray staining on ceilings and walls. This is often caused by slow drips from upstairs bathrooms or attic-based HVAC condensation lines.
- Bubbling Paint or Peeling Wallpaper: When moisture gets trapped between the drywall and the finish, it causes the adhesive to fail. If your paint feels “spongy” to the touch, there is active moisture behind it.
- Warped Flooring: In the case of slab leaks, water can travel upward through the concrete via capillary action. This leads to cupping in hardwood floors, lifting of linoleum, or damp carpets in areas where no spills occurred.
- Efflorescence on Masonry: If you see a white, powdery substance on your basement bricks or concrete, that is efflorescence—mineral deposits left behind after water evaporates. It is a sign of chronic moisture seepage.
4. The Olfactory and Auditory Indicators
Sometimes your eyes can be deceived, but your nose and ears are harder to trick. Acoustic leak detection is a professional technique, but homeowners can use basic versions of it.
The Sound of Silence: In the dead of night, when the house is quiet, walk through your halls. Do you hear a faint hissing, whistling, or the sound of a toilet “ghost flushing”? A hissing sound often indicates a high-pressure leak in a supply line, while a dripping sound suggests a drainage leak or a failing fixture.
The Musty Odor: Mold and mildew thrive in dark, damp environments. If a specific room or cabinet has a persistent “earthy” or “wet dog” smell that doesn’t go away with cleaning, you likely have a hidden mold colony fueled by a slow leak. This is a significant health concern, as mycotoxins can affect indoor air quality.
5. Specialized Focus: The Dreaded Slab Leak
For homes built on a concrete foundation, a slab leak is one of the most difficult issues to diagnose. These occur when the copper or PEX piping buried beneath the concrete fails. This can be caused by soil shifting, corrosion, or poor installation.
Signs of a slab leak include “hot spots” on the floor (indicating a leak in the hot water line), a water heater that never stops running, and cracks appearing in the foundation or exterior brickwork. If you suspect a slab leak, you need a professional team like SunShine Plumbing Pros to perform electronic pipe locating and ultrasonic leak detection to pinpoint the exact failure point without unnecessary excavation.
6. Advanced Technology: How Professionals Find What You Can’t See
While DIY methods are great for initial confirmation, professional leak detection services utilize aerospace-grade technology to minimize property damage. As an SEO Director who understands the value of precision, I always recommend these “non-invasive” methods:
Infrared Thermography
Thermal imaging cameras detect temperature differences in walls. Since water changes the thermal mass of building materials, a leak will show up as a “cold spot” (or a hot spot for supply lines) on the camera’s screen. This allows plumbers to see through walls without swinging a hammer.
Acoustic Sensors
Professionals use high-sensitivity microphones to listen for the specific frequency of escaping water. By triangulating the sound intensity, they can locate a leak under several feet of concrete or soil within a few inches of its actual location.
Tracer Gas Detection
In complex cases, a non-toxic, lighter-than-air gas is injected into the plumbing lines. Using a “sniffer” probe, the technician detects where the gas escapes through the soil or floor, identifying the breach in the pipe.
7. Common Culprits: Where to Look First
If you suspect a leak but haven’t found the source, check these “usual suspects” first. They account for nearly 70% of residential water loss issues.
- The Toilet Flapper: A worn-out rubber flapper in the tank can leak hundreds of gallons a day. Perform the “dye test” by putting food coloring in the tank; if color appears in the bowl without flushing, you have a leak.
- Shower Valves: Internal seals in the shower handle can fail, allowing water to drip down the internal wall cavity rather than out the showerhead.
- Water Softeners and Whole-House Filters: These systems often have bypass valves or backwash cycles that can get stuck in the “open” position, sending water straight down the drain continuously.
- Outdoor Spigots: Frost damage in the winter can crack the pipe just inside the wall. When you turn on the hose in the spring, water sprays inside your siding.
8. The Financial and Structural Impact of Neglect
Ignoring a hidden leak is a gamble with high stakes. Beyond the inflated water bills, the structural consequences include:
- Foundation Instability: Constant water saturation can cause soil to wash away or expand, leading to foundation cracks and uneven floors.
- Wood Rot and Termites: Damp wood is the primary attractant for subterranean termites and carpenter ants. It also leads to dry rot, which compromises the load-bearing capacity of your floor joists.
- Mold Remediation Costs: Removing mold from a 2,000-square-foot home can cost upwards of $5,000 to $20,000, depending on the severity. Finding the leak early prevents the mold from ever taking hold.
“A leak of just one drop per second can waste more than 3,000 gallons of water per year. That is the equivalent of 180 showers.” – Environmental Protection Agency (EPA)
9. Proactive Prevention: Protecting Your Home’s Integrity
As a Topical Authority in home maintenance strategies, I recommend a proactive “Defensive Plumbing” stance. Don’t wait for a puddle to appear.
- Install Smart Water Monitors: Devices like the Phyn or Moen Flo attach to your main water line. They use AI to learn your home’s “water signature” and will automatically shut off the water if they detect a burst pipe or a slow leak.
- Monitor Water Pressure: High water pressure (above 80 PSI) is a leading cause of pipe failure. Use a $10 pressure gauge to check your spigots; if it’s too high, install a Pressure Reducing Valve (PRV).
- Annual Professional Inspections: Having a licensed plumber perform a “plumbing tune-up” once a year can identify corroded flex lines and failing valves before they leak.
10. When to Call the Experts at SunShine Plumbing Pros
While identifying the existence of a leak is a great DIY project, repairing it often requires professional intervention. Attempting to fix a slab leak or a pressurized line behind a wall without the proper tools can lead to further damage or even flooding.
SunShine Plumbing Pros specializes in high-accuracy leak detection and trenchless pipe repair. Their team uses the latest diagnostic technology to ensure that your home is restored to a dry, safe condition with minimal disruption. Whether it is a mysterious damp spot in the hallway or a soaring water bill, their experts provide the EEAT (Experience, Expertise, Authoritativeness, and Trustworthiness) required to handle complex residential plumbing systems.
Summary Checklist for Homeowners
- Check the water meter (Low-flow indicator).
- Review the last 6 months of water bills for upward trends.
- Inspect under every sink with a flashlight for “rings” or dampness.
- Test toilets with food coloring.
- Check the water heater’s Temperature and Pressure (T&P) Relief Valve for discharge.
- Walk the perimeter of the home looking for unusually green patches of grass.
Frequently Asked Questions About Hidden Leaks
Can a leak happen under a concrete floor?
Yes, these are known as slab leaks. They occur when pipes underneath your home’s foundation corrode or break. They are often identified by warm spots on the floor or the sound of rushing water when no fixtures are in use.
Does homeowners insurance cover hidden water leaks?
In many cases, insurance covers the resultant damage (like ruined drywall or flooring) if the leak was “sudden and accidental.” However, they often do not cover the repair of the pipe itself if the leak was caused by wear and tear or lack of maintenance. Always check your specific policy details.
How much does professional leak detection cost?
The cost varies by region and technology used, but typically ranges from $200 to $600. This is a small price to pay compared to the thousands of dollars in structural repairs that result from an undetected leak.
Is a small drip really a big deal?
Absolutely. A small drip is often a symptom of a larger systemic issue, such as excessive water pressure or pipe degradation. Furthermore, even a small amount of moisture is enough to trigger black mold growth within 24 to 48 hours.
Final Thoughts on Maintaining a Leak-Free Home
Identifying a hidden water leak is an exercise in mindfulness. By paying attention to the subtle changes in your home—the sounds, the smells, and the data on your monthly statements—you can intercept a minor issue before it becomes a major crisis. Remember that water is a patient destroyer; it doesn’t need a massive hole to cause massive damage. It only needs time.
By following the steps outlined in this guide, you are taking control of your property’s longevity. If you find yourself facing a leak that is beyond your DIY capabilities, reaching out to a trusted partner like SunShine Plumbing Pros ensures that your home remains the sanctuary it was meant to be. Stay vigilant, monitor your meter, and never ignore the “small” signs of water intrusion.